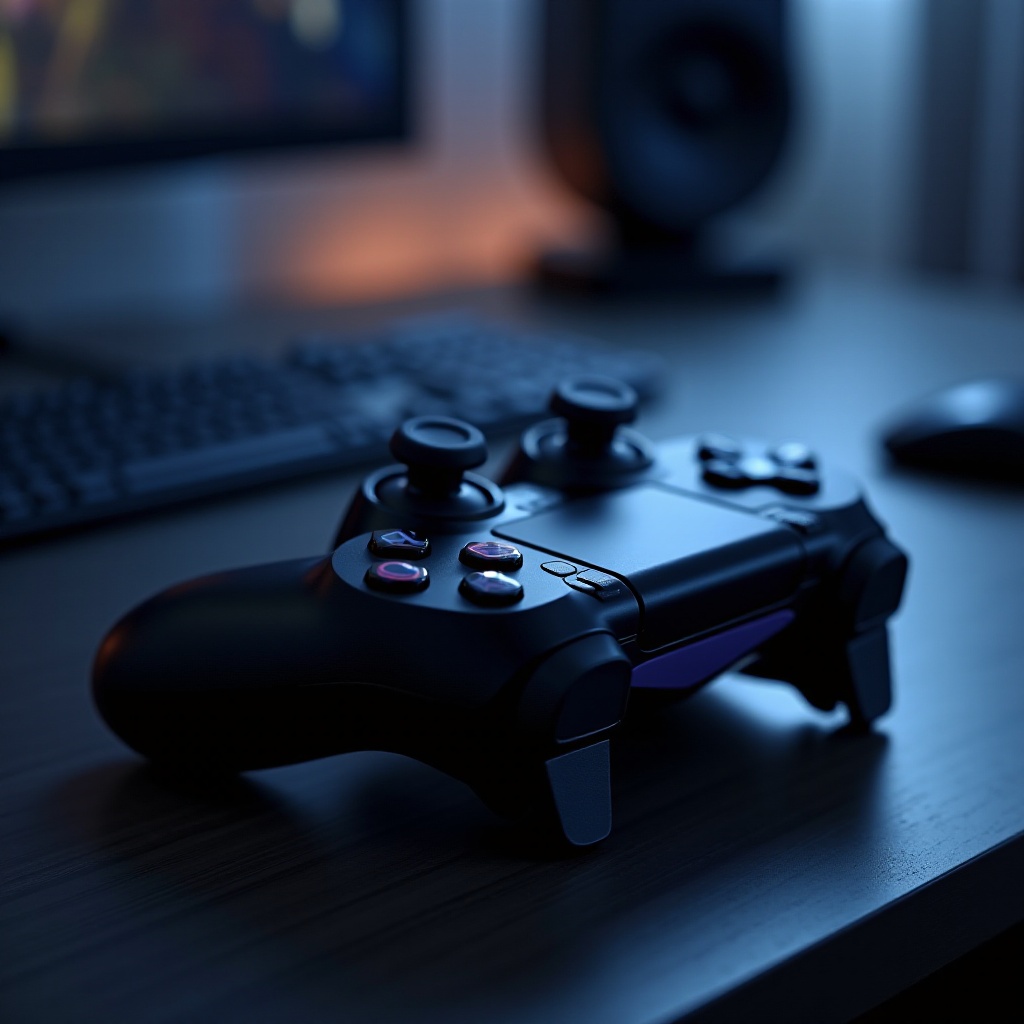
Gaming on your PC using the Nintendo Switch Pro Controller can enhance your experience with its ergonomic design and responsive controls. This guide will walk you through the process of connecting the Pro Controller to Steam, ensuring you have everything set up for seamless gameplay.
Introduction
The Nintendo Switch Pro Controller is not limited to just the Switch console, as it can offer a high-quality alternative for PC gamers who enjoy utilizing Steam’s extensive library. Knowing how to connect and configure this controller properly will open up more enjoyable and accessible gaming experiences. We will guide you step-by-step, ensuring your Pro Controller integrates smoothly with Steam on your PC.
Preparing Your Pro Controller for Connection
Before diving into the connection process, preparation is key. Start by ensuring your Pro Controller is ready to pair by checking compatibility and charging the device.
- Ensure your PC is equipped with Bluetooth or an available USB port, as these are necessary for connecting the controller.
- Update the firmware by visiting Nintendo’s official website to download any new updates. This can prevent potential connectivity issues from outdated software.
- Ensure your Pro Controller is fully charged by connecting it to a power source via a USB-C cable. A full charge prevents interruption during lengthy gaming sessions.
Once these preparations are complete, you’re ready to connect using either a Bluetooth or USB method.
Connecting the Pro Controller via Bluetooth
A wireless connection can be very liberating, and Bluetooth offers a convenient, cable-free option for connecting your Pro Controller.
- On your PC, access Settings, navigate to Devices, and ensure Bluetooth is enabled.
- Place the Pro Controller in pairing mode by pressing and holding the sync button on top until the indicator lights start flashing.
- Add your Pro Controller under the Bluetooth settings by selecting ‘Add Bluetooth or other device’, then select ‘Bluetooth’. Choose the Pro Controller from the list to complete pairing.
If issues arise during this process, remember to consult the troubleshooting section. Bluetooth connectivity ensures freedom of movement and eliminates the clutter of wires.
Connecting the Pro Controller via USB
For those preferring a stable connection, using a USB cable is simple and effective.
- Use a USB-C to USB-A cable to connect the controller to your PC. The right cable ensures optimal connectivity without disruptions.
- Plug the USB-C end into the controller, and the USB-A end into your PC’s USB port. Your PC should automatically detect the controller, simplifying the setup.
This method negates the need for battery management, making it an excellent option for prolonged gaming sessions.
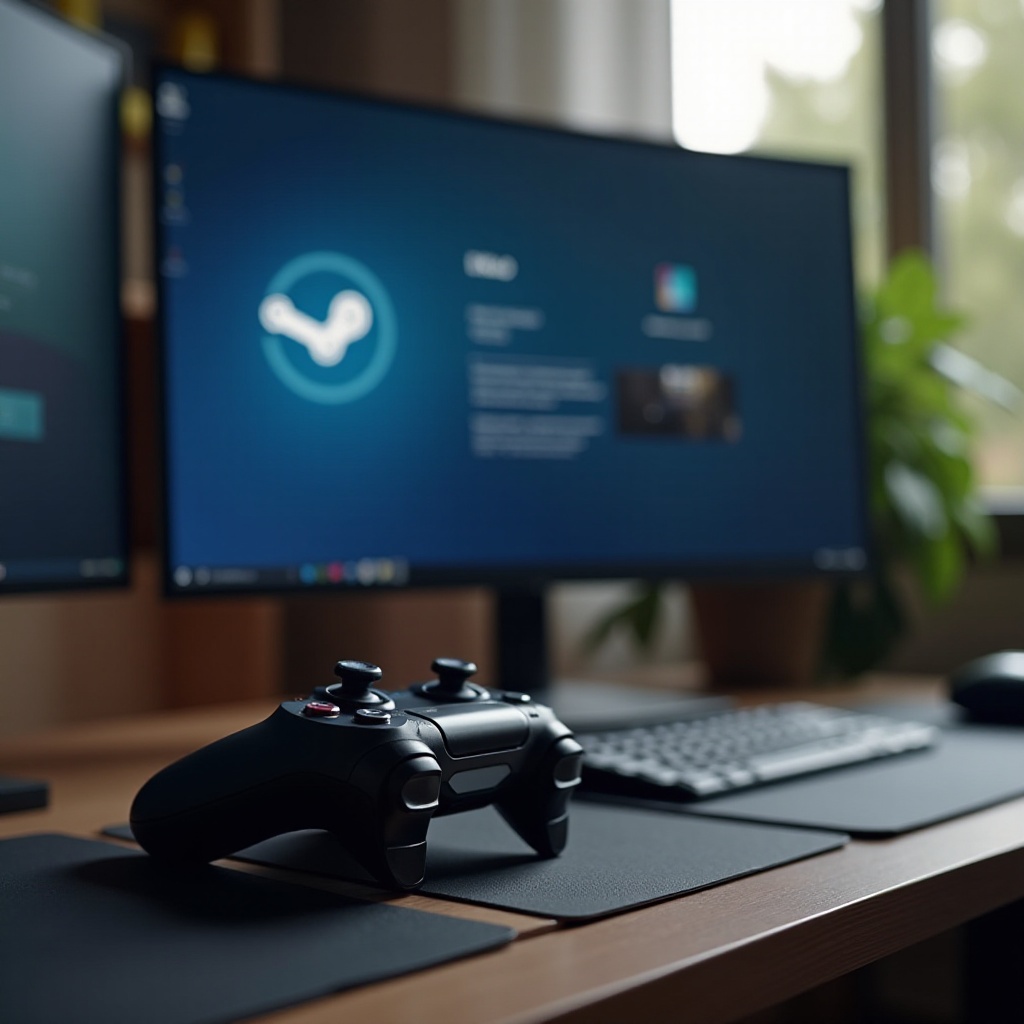
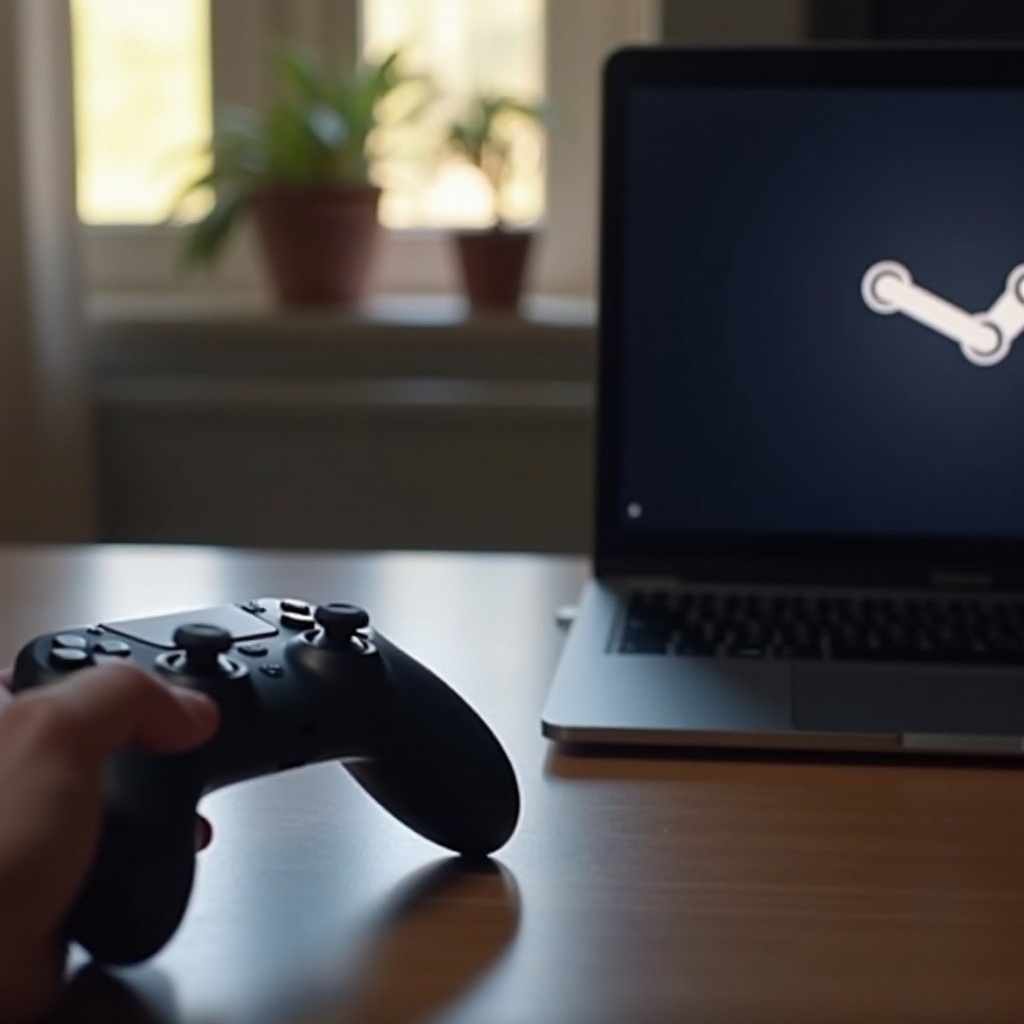
Configuring Steam for Pro Controller Use
With your controller connected, configuring Steam is essential to ensure your games recognize and utilize the Pro Controller effectively.
- Launch Steam and enter Big Picture Mode by selecting the icon in the upper right corner. This mode is tailored for controller use.
- Access the settings within Big Picture Mode, then select Controller Settings. Confirm that ‘Switch Pro Configuration Support’ is selected to optimize controller integration.
- Consider enabling ‘Use Nintendo Button Layout’ to match on-screen game prompts with Nintendo’s typical layout, aiding in intuitive play.
Proper configuration ensures that your gaming experience is as cohesive and enjoyable as possible.
Advanced Customization and Profiles
Steam offers numerous customization options, allowing for personalized gameplay experiences.
- Create different profiles for each game by selecting a game in your Steam library, going to ‘Manage Game’, and choosing ‘Controller Configuration’ to tailor settings for each title.
- Leverage Community Configurations if you’re seeking inspiration or recommendations from other gamers who have already tailored their settings. These community-created profiles provide an excellent jumping-off point for your own customization.
These advanced options allow for versatile gaming experiences, adapting your controller to suit any game’s unique demands.
Troubleshooting Connection Issues
Despite best efforts, connectivity problems can occur. Here are some solutions for common issues:
- If the controller isn’t recognized, double-check that it is in pairing mode and your PC’s Bluetooth is active. Consider rebooting your PC and reattempt the process.
- For dropped connections, especially over Bluetooth, verify that no other devices are interfering. Switching to a wired connection may provide a more reliable experience if issues persist.
Having a stable connection is crucial for uninterrupted gaming enjoyment.
Conclusion
By following these steps, your Pro Controller will be reliably connected to Steam, providing a streamlined and intuitive setup. Whether through the freedom of Bluetooth or the stability of USB, configuring your controller and using advanced Steam settings ensures a rewarding gaming experience with your favorite titles.
Frequently Asked Questions
Why is my Pro Controller not recognized by Steam?
Ensure your controller is in pairing mode and your PC’s Bluetooth is enabled. Update drivers if needed and retry the connection process.
Can I use a third-party app for custom controller mapping?
Yes, third-party applications like x360ce or JoyToKey offer additional mapping features, but Steam’s built-in options are already quite robust.
How do I update the Pro Controller’s firmware for optimal performance?
Visit the Nintendo support site for instructions on downloading and installing the latest firmware updates for your controller.