Introduction
Watermarks on camera footage can be distracting and unprofessional. For many users of Logitech cameras, the watermark displayed through the G Hub software can be particularly irksome. This comprehensive guide is designed to walk you through the steps of removing the watermark from Logitech Camera G Hub, ensuring cleaner and more professional video output. Let’s dive straight into understanding the Logitech Camera G Hub and why one might want to remove these watermarks.
Understanding Logitech Camera G Hub
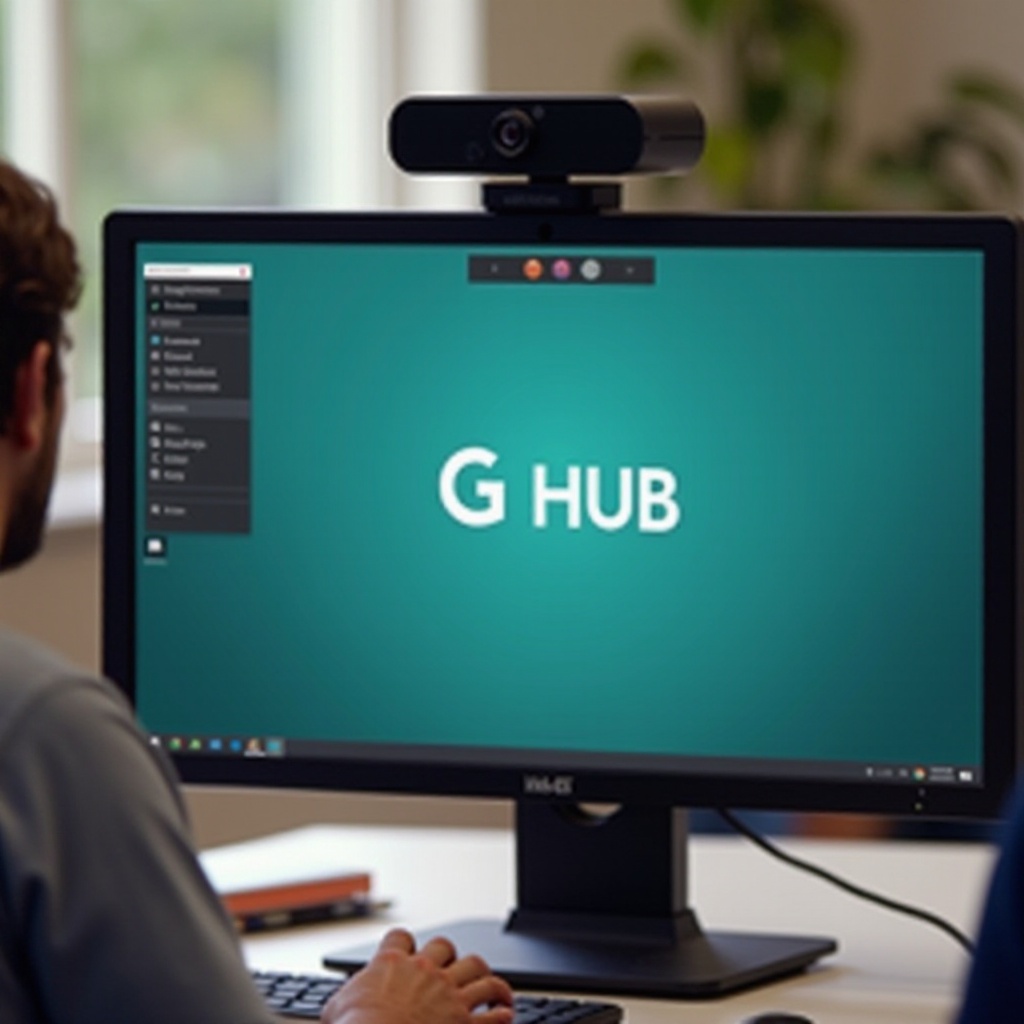
Logitech Camera G Hub is powerful software that provides users with extensive control over their Logitech devices, including webcams. It offers various features such as fine-tuning video settings, adjusting resolution and frame rate, and adding overlays or watermarks to video streams. The G Hub interface is user-friendly, making it easy for users to tweak their camera settings to fit personal or professional requirements. Yet, one sometimes obnoxious feature is the watermark that gets added to video streams, which can be a distraction for many. Thankfully, removing the watermark is a straightforward process that you can handle directly within the G Hub.
Reasons to Remove Watermarks
There are several compelling reasons to remove watermarks from your Logitech camera feed: 1. Professional Appearance: Watermarks can detract from the professionalism of a video, which is particularly problematic for individuals using their Logitech cameras for business purposes, such as video conferencing or content creation. 2. Clearer Video Feed: Removing the watermark provides a cleaner video feed, which enhances viewer experience and focus. 3. Creative Freedom: For content creators, having a clean video slate without watermarks allows for greater creative freedom, including the ability to add custom watermarks or logos during post-production.
Step-by-Step Guide to Removing Watermarks via G Hub
Now that we understand the importance and benefits of removing watermarks, let’s go through the step-by-step process. It’s simpler than you might think.
Accessing and Navigating G Hub
-
Open G Hub: Begin by launching the Logitech G Hub software on your computer. 2. Select Your Camera: On the home screen, you should see your connected Logitech camera listed. Click on its icon to access the camera settings. 3. Navigating Settings: Once the camera dashboard opens, you will find various tabs and settings.
Finding Watermark Settings
-
Overlay Tab: Look for the ‘Overlays’ tab or section within the camera dashboard. This is typically where watermark settings are configured. 2. Watermark Option: Within the overlays section, find the option specifically related to ‘Watermarks.’ Moving from understanding the G Hub settings to the practical steps of disabling the watermark, we will now explore how to effectively disable the watermark.
Disabling the Watermark
-
Disable Watermark: You will see a toggle switch or checkbox to enable or disable the watermark. Ensure this option is turned off to remove the watermark from your video stream. 2. Save Settings: After disabling the watermark, make sure to save your settings. This is typically done by clicking an ‘Apply’ or ‘Save’ button, ensuring your changes are permanent.

Alternative Methods for Watermark Removal
If the watermark persists or if you prefer to use other methods, here are a couple of alternatives:
Using Third-Party Software
Numerous software options exist that can aid in the removal of watermarks from video footage. Here are a few examples: 1. OBS Studio: This open-source software supports adding and removing overlays, including watermarks. You can configure your video feed to exclude the watermark altogether. 2. XSplit: Known for its robust broadcasting features, XSplit also offers options to remove or replace watermarks on video feeds.
Post-Production Editing Techniques
If you’ve already recorded video with a watermark, post-production software like Adobe Premiere Pro or DaVinci Resolve can help you remove or obscure the unwanted watermark: 1. Cropping the Video: Most editing software allows you to crop out parts of the video frame; however, this may affect the overall composition. 2. Blurring/Obscuring the Watermark: You can add blur or a cover over the watermark using video editing tools to make it less noticeable.
Troubleshooting Watermark Removal Issues
Occasionally, difficulties may arise during the watermark removal process. Here are some common issues and their solutions: 1. Settings Not Saving: Ensure you run G Hub as an administrator to save changes effectively. 2. Software Update: If the watermark persists, check for G Hub updates. Sometimes glitches occur due to outdated software. 3. Restart G Hub: After making changes, restart the G Hub software to ensure settings take effect.
Conclusion
Removing watermarks from your Logitech camera via G Hub is a straightforward process that significantly improves the professionalism and clarity of your videos. Whether using the built-in options within G Hub or resorting to third-party solutions, you’ll find that a clean, watermark-free feed enhances your video quality and presentation.
Frequently Asked Questions
Is removing the watermark from Logitech Camera G Hub legal?
Yes, adjusting the settings within the software to remove watermarks should be within legal bounds as these features are provided by Logitech.
Are there any risks in using third-party software for watermark removal?
Third-party software can carry risks, such as compatibility issues or unintended effects on video quality. Always use reputable software and ensure it’s updated.
How can I ensure my settings are saved in G Hub after removing the watermark?
Make sure you are running G Hub as an administrator and save your changes before exiting the program. Restart the software to confirm the changes.