Introduction
Drawing on a Chromebook can feel natural, fast, and reliable when you match the right input, apps, and settings. You can sketch with a USI stylus for pressure and palm rejection, or create with touch, a mouse, or an external tablet. This guide shows you how to draw on chromebook step by step: confirm hardware, choose the best apps, tune ChromeOS, and build skills with simple drills. You will also learn how to fix lag, export clean files, and pick accessories that improve control.
We will start with the essentials so you can check device support and pick an input method. Then we will set up a stylus, explore touch and mouse workflows, and compare the most useful apps. After that, we will optimize system settings, practice fundamentals, and refine your workflow and exports. If problems appear, jump to troubleshooting, then finish with gear recommendations and a clear next step.
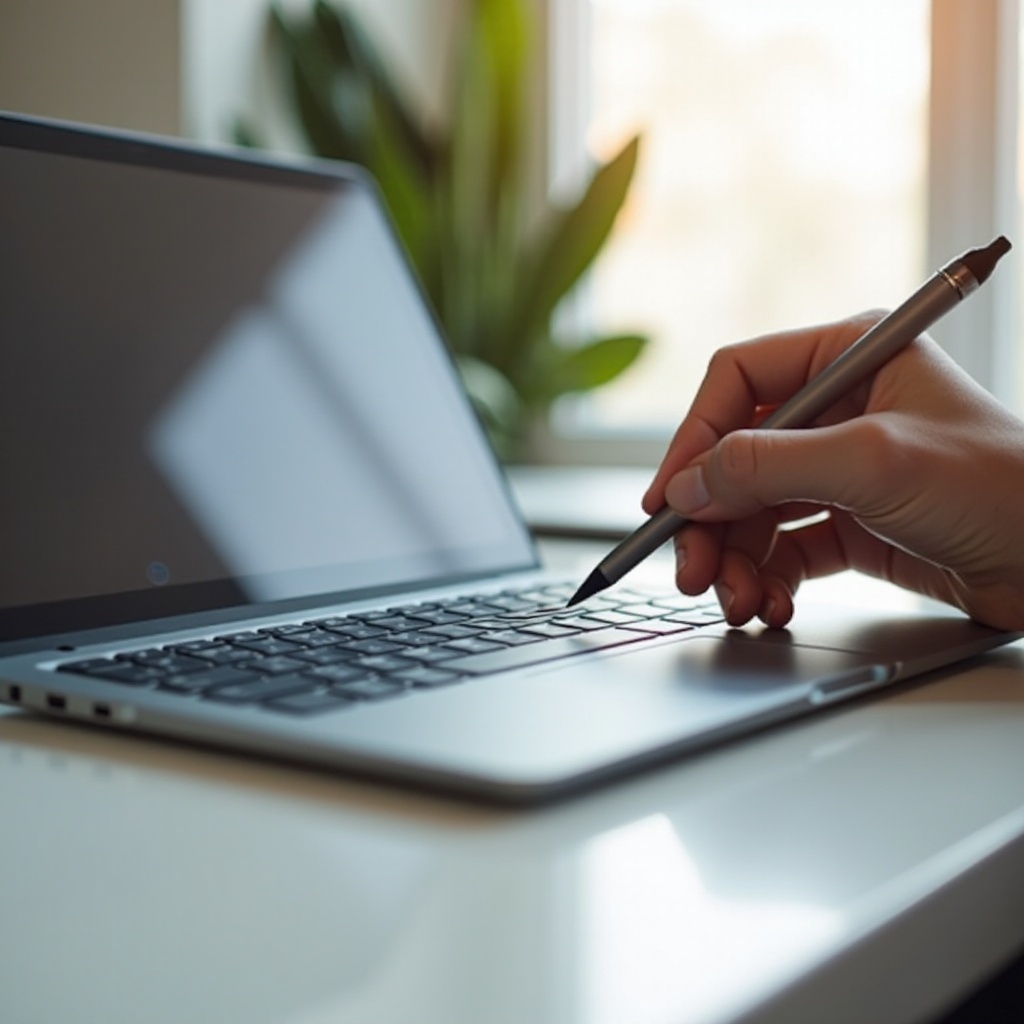
Can You Draw on a Chromebook? What You Need
Most modern Chromebooks support drawing in some form. For the best experience, use a touchscreen model that supports USI pens, ideally USI 2.0 for lower latency and better tilt and pressure behavior. Even without touch, you can still create art with a mouse or connect a dedicated drawing tablet over USB-C.
Check these essentials before you start:
– Display: Full HD (1920×1080) or higher on an IPS panel. Aim for 300+ nits for comfortable viewing under ambient light.
– Pen: A USI 2.0 stylus with replaceable nibs. You get pressure sensitivity and improved palm rejection that generic capacitive pens cannot match.
– Memory and CPU: 8 GB RAM or more and a recent Intel, AMD, or ARM processor for smooth canvases and multiple layers.
– Storage: 64 GB or more if you keep large local files. Cloud sync helps but local space still matters for performance.
Pick your apps next. Web tools like Google Canvas run on almost any device. Android apps from the Play Store add mature brush engines and layer systems. Linux apps deliver desktop-grade painting and vector tools. With this checklist set, let us prepare your stylus for clean, predictable lines.
How to Draw on Chromebook with a Stylus: Setup and Calibration
A tuned stylus reduces friction and makes every stroke feel intentional. Follow these steps to get a stable, consistent drawing experience.
1) Confirm pen support:
– Open Settings > Device > Stylus. If the menu exists, your device recognizes pen features. Turn on palm detection.
2) Connect your stylus:
– USI pens do not need Bluetooth to draw. Touch the screen to start.
– If your pen uses Bluetooth for side buttons, pair it in Settings > Bluetooth and test the button functions.
3) Update firmware if available:
– Some USI 2.0 pens offer updates via the maker’s Android app. Install the utility from the Play Store and apply updates to improve latency and stability.
4) Set handedness and shortcuts:
– In Stylus settings, set left- or right-handed mode. If your pen has buttons, map one to eraser or right-click for quick fixes.
5) Calibrate in your app:
– In Sketchbook, Concepts, or similar apps, set a moderate pressure curve and light to medium stabilization. Too much smoothing creates lag; too little exposes jitter.
6) Improve surface control:
– Apply a matte screen protector for paperlike friction and reduced glare. This helps control micro-shakes and steadies long lines.
7) Check alignment:
– Draw slow circles near screen edges. If the cursor offsets, reduce display scaling or try a different app. Default scale often yields the best alignment.
8) Maintain the pen:
– Replace worn nibs and keep a spare. Store the pen in a case to protect the tip.
With your stylus tuned, you can ink confidently. If you do not have a pen yet, you can still create with touch, a mouse, or a tablet. Let us set up those options next.
How to Draw on Chromebook Without a Stylus: Touch, Mouse, and External Tablets
No pen, no problem. You can still draw on a Chromebook using touch or a mouse for many styles. For pressure and tilt without a USI pen, connect an external tablet.
Try these input paths:
– Touch or trackpad: Use Google Canvas or Sketchbook for rough sketches, thumbnails, and coloring. Zoom in for details and turn on line smoothing in the app.
– Mouse: Vector tools shine with a mouse. In Concepts or Inkscape, use snapping, shape guides, and the Pen or Bezier tool to build clean forms.
– External drawing tablets: Many Wacom, Huion, and XP-Pen tablets work via USB-C or adapters. Some provide Android mode drivers. Others require Linux support on ChromeOS.
Setup tips:
– Android drivers: If the maker offers an Android driver in the Play Store, install it and grant permissions.
– Linux drivers: Enable Linux in Settings > Developers > Linux development environment. Follow the tablet maker’s Linux guide for mapping and calibration.
Once you choose an input method, the right app will speed up your workflow and match your art style. Let us review the best options and when to use each.
Best Drawing Apps for Chromebooks
Apps define your brush feel, layer control, and export pipeline. Combine a fast sketch app with a full editor so you can draft quickly and finish with polish.
Great picks to consider:
– Google Canvas (web): Free, lightweight, and fast. Ideal for notes and quick sketches. Limited brushes but excellent for ideation.
– Sketchbook (Android): A strong brush engine, layers, symmetry, rulers, and blend modes. Exports PSD, PNG, JPG, and TIFF. Stable pressure response with USI pens.
– Concepts (Android): An infinite canvas with vector-based brushes that look like raster strokes. Perfect for clean line art, planning, and diagramming.
– ibis Paint X (Android): Huge brush library and robust stabilizer. Manga tools, rulers, and community tutorials make it great for character art.
– Krita (Linux): Desktop-grade painting with advanced brushes, masks, color management, and animation. Needs the Linux environment and solid RAM.
– Inkscape (Linux): Vector editor for logos, icons, posters, and precise SVG work. Pairs well with a mouse or pen for crisp shapes.
– Pixlr or Ephoto (web): Browser editors for quick composites, filters, and layer tweaks when you want zero install friction.
Install paths:
– Web apps: Open in Chrome and install as an app from the menu for easier access and offline caching when supported.
– Android apps: Enable the Play Store, install, then allow storage and pen permissions.
– Linux apps: Turn on the Linux environment and install via Flatpak or the developer’s instructions. Allocate extra storage if you work with big files.
With your apps ready, fine-tune ChromeOS so your pen feels right, colors look accurate, and accessibility tools support your workflow.
Optimize ChromeOS for Drawing: Pen, Display, and Accessibility Settings
Small system changes improve control and clarity. A few toggles can reduce mistakes and speed up common actions.
Pen and input settings:
– Settings > Device > Stylus: Enable palm detection. Map a pen button to eraser or right-click for fast fixes.
– Accessibility > Pointer and touch: Adjust pointer size for visibility if you use a mouse or trackpad for vector work.
Display and color:
– Settings > Device > Displays: Use native resolution. If you scale, pick a comfortable level that does not blur edges.
– Keep color temperature neutral while drawing. Night Light can shift hues; save it for reading sessions.
– For external monitors, choose an IPS panel with solid sRGB coverage. Decide whether to mirror or extend based on your need for a full-screen canvas or a reference window.
Sensitivity and gestures:
– Settings > Device > Touchpad: Adjust sensitivity and tap-to-click to match your motion if you sketch or edit with the trackpad.
Accessibility aids:
– Magnifier helps with fine details without changing app zoom.
– High-contrast or grayscale views help you check value structure quickly.
With your system tuned, you will feel the benefits as soon as you practice fundamentals. Let us train your hand with short, effective drills.
Core Drawing Techniques and Practice Drills for Beginners
Strong fundamentals improve every stroke, no matter which app you use. Warm up, then practice simple exercises that build control and confidence.
Warm-ups and drills:
1) Lines and ellipses: Fill a page with straight lines, C-curves, and ellipses at different angles. Draw confidently and avoid fuzzy, repeated strokes.
2) Boxes and cylinders: Construct forms in perspective. Shade with a soft brush to understand light direction and core shadows.
3) Cross-contours: Wrap lines around forms to convey volume and orientation.
Use layers with intent:
– Sketch layer: Light color at low opacity for planning.
– Ink layer: Dark brush with low to medium stabilization for crisp lines.
– Color layer: Under inks; use clipping layers for shadows and highlights.
Guides and references:
– Import a reference in a second window or a split screen. Turn on grids, symmetry, and perspective guides for accuracy.
– Practice gesture drawing at 30 to 120 seconds per pose to improve rhythm and proportion.
Color and values:
– Start in grayscale to nail values, then add color on new layers set to Overlay, Multiply, or Soft Light.
With stronger fundamentals, you will notice less wobble and faster decisions. Now let us trim lag and add accessories that boost comfort and control.
Performance Tweaks and Accessories That Improve the Drawing Experience
Performance, comfort, and consistency matter as much as brush engines. Small tweaks reduce lag and fatigue.
Make ChromeOS snappy:
– Close heavy tabs and background apps before long drawing sessions.
– Lower canvas size or reduce layer count if an Android app starts to lag.
– In Linux apps like Krita, enable hardware acceleration if supported.
Useful accessories:
– Matte screen protector: Adds friction and cuts glare.
– Drawing glove: Reduces palm drag and keeps the screen clean.
– Laptop stand: Raises the screen to reduce neck and shoulder strain.
– Spare nibs: Replace tips when lines feel scratchy or slippery.
– USB-C hub: Connect drives, tablets, and monitors without constant swapping.
Power and storage:
– Plug in power for maximum performance during big projects.
– Store large assets on Google Drive or an external SSD. Keep local storage clear to avoid slowdowns.
With speed and comfort sorted, you need a clean workflow that protects your work and keeps exports predictable.
Workflow, File Management, and Exporting Art from Chromebook
A simple, repeatable workflow saves time and prevents lost files. Organize, version, and export on a schedule.
Organize your project:
– Create one main folder per piece with subfolders for refs, working files, and exports.
– Use clear names such as project-name_v01, v02, and so on.
Version control:
– Duplicate your file before major changes. Set a timer to save incremental versions every 30 to 60 minutes.
– Use Drive’s version history where supported.
Export presets:
– Web: PNG or JPG at 72 to 150 PPI. Keep file sizes small for sharing.
– Print: PNG or TIFF at 300 PPI. Include color profiles if the app supports them.
– PSD: Export a layered PSD if you plan to finalize on another machine.
Backup strategy:
– Sync to Google Drive. Also back up to an external SSD weekly for offline safety.
If issues arise, solve them quickly so you can stay focused on drawing. The next section lists fixes for the most common problems.
Troubleshooting Common Stylus and App Issues on Chromebooks
Common drawing issues often share simple causes. Work through these checks to restore smooth lines.
Quick fixes:
– Pen not detected: Reseat the pen, restart the Chromebook, and check Stylus settings. Replace or recharge the pen battery if your model uses one.
– Laggy strokes: Close tabs, reduce canvas size, and plug in power. Turn off screen recording or background sync tools during painting.
– Jitter or wavy lines: Apply a matte screen protector and increase stabilization slightly in your app. Rest your palm on the screen to steady strokes.
– Cursor offset near edges: Set display scale to default and test another app. Rotate to portrait mode for edge work if needed.
– Palm rejection glitches: Ensure palm detection is on. Use a drawing glove. Avoid multiple touch points while drawing.
– App crashes or freezes: Update the app, clear cache, and recheck storage permissions. For Linux tools, update packages and restart the Linux environment.
If hardware limits hold you back, a pen-friendly Chromebook with a bright display and more RAM can make a big difference. Here is what to look for when you upgrade.
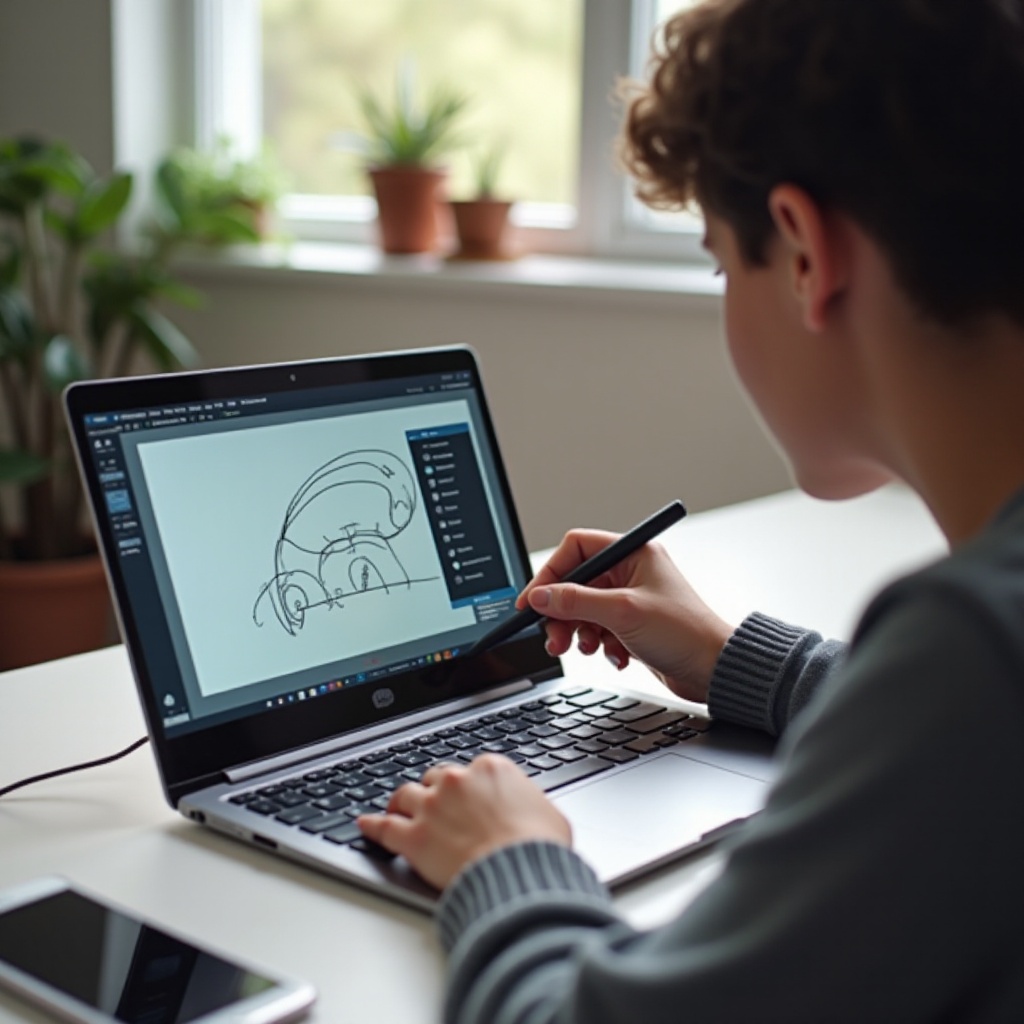
Recommended Chromebooks and Styluses for Drawing
Chromebooks that support USI pens and offer bright, color-accurate screens work best for drawing. You do not need the most expensive model; look for balance.
What to look for in a Chromebook:
– Display: 13 to 14 inches, IPS panel, Full HD or better, 300 to 400 nits.
– Performance: 8 to 16 GB RAM and a modern Intel Core, AMD Ryzen, or efficient ARM processor.
– Pen support: USI 2.0 compatibility and strong palm rejection.
– Design: 2-in-1 convertible with a sturdy hinge for tablet mode and tent mode.
Models many artists research and like:
– Acer Chromebook Spin 714: Fast processor, bright touchscreen, and USI support.
– HP Chromebook x360 in the 14-inch class: Solid build, good display, and USI pen options.
– Lenovo IdeaPad Flex 5i Chromebook: Budget-friendly, capable performance, and pen support.
– ASUS Chromebook Plus CX34 Flip: Responsive performance, crisp screen, and creator-friendly features.
Stylus picks to consider:
– Lenovo USI Pen 2, HP Rechargeable USI Pen, Penoval USI 2.0, Logitech Pen 2.
– Buy extra nibs and a pen case. Check the maker’s support app or page for firmware updates.
You now have a plan for hardware and pens. The final step is to commit to practice and a repeatable workflow that turns ideas into finished art.
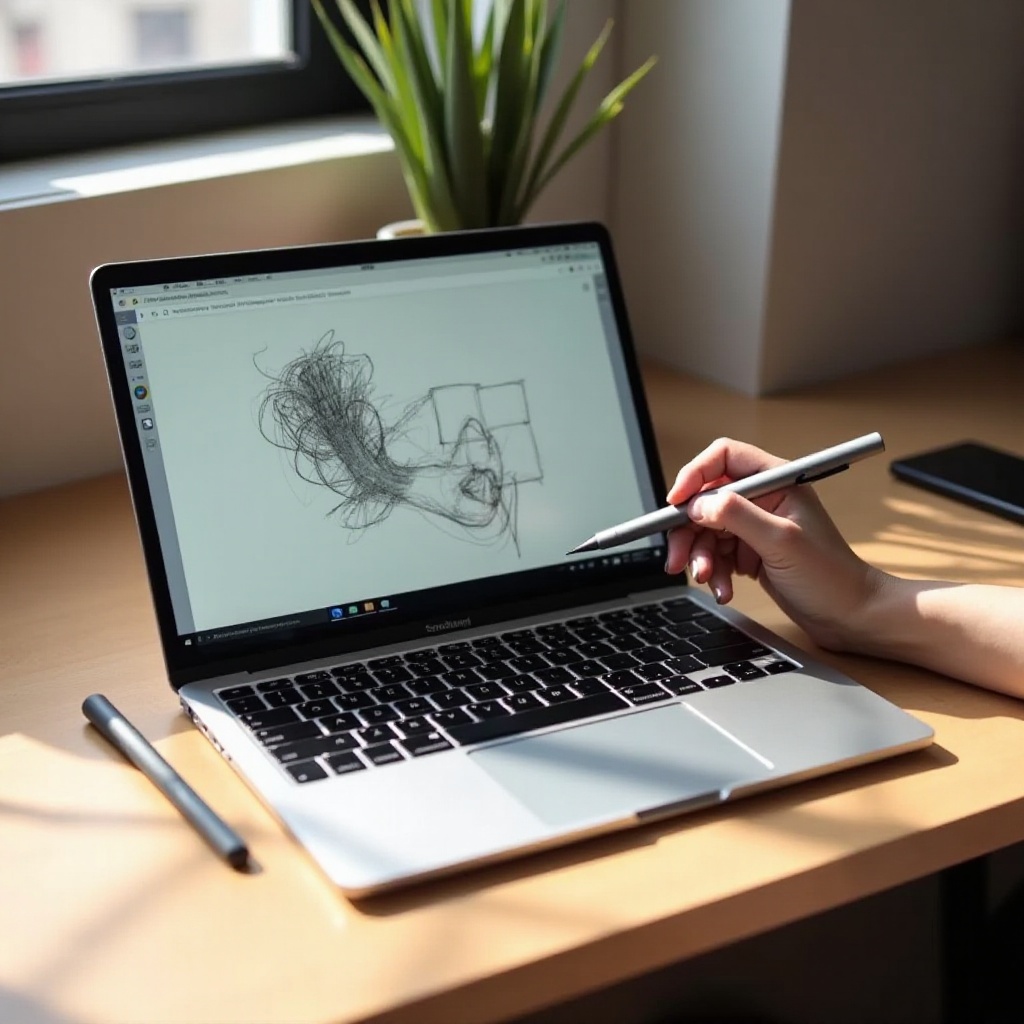
Conclusion
You have learned how to draw on chromebook with a clear process: confirm device and pen support, select a sketch app and a full editor, and tune ChromeOS so strokes feel natural. Build confidence with short drills, keep files organized with simple versioning, and export with presets for web or print. Fix issues fast using the troubleshooting steps, and improve comfort with a matte screen protector, a stand, and spare nibs. If you outgrow your device, consider a USI-ready Chromebook with more RAM and a brighter display.
Start small: pick one subject, open your favorite app, and draw for 30 minutes. Save a version, export a PNG, and share it. Each short session improves your control and builds a library of work you can be proud of.
Frequently Asked Questions
Do I need a USI 2.0 stylus to draw on a Chromebook?
You can draw with touch or a mouse, but a USI 2.0 stylus adds pressure, better palm rejection, and a natural feel. If your device lacks USI support, use an external drawing tablet.
Can I use Krita or Inkscape on a Chromebook for digital art?
Yes. Enable the Linux development environment in Settings > Developers, then install via Flatpak or the developer’s guide. Allocate storage and close heavy Android apps for best speed.
How do I reduce pen lag or jitter when drawing on a Chromebook?
Plug in power, close extra tabs, and lower canvas size or layers. Raise brush smoothing slightly, apply a matte screen protector, set display scale to default, and keep apps updated.