Introduction
Dust builds up in every PC. It clogs filters, coats fans, and insulates heatsinks. Heat rises, fans ramp, and performance drops. A simple dusting routine lowers temperatures and noise, and it can extend the life of every component. You do not need special skills to do it right. You only need the right tools, a safe setup, and a method that moves dust out rather than deeper in.
This guide walks you through safe cleaning for desktops and laptops. It starts with power and static precautions, then covers tools, workspace setup, exterior cleaning, and interior detail work. After that, you will verify results, avoid common mistakes, and set a simple maintenance schedule. The next section locks in safety so every step after runs smooth.
Safety First: Power Down, ESD Protection, and Warranty Notes
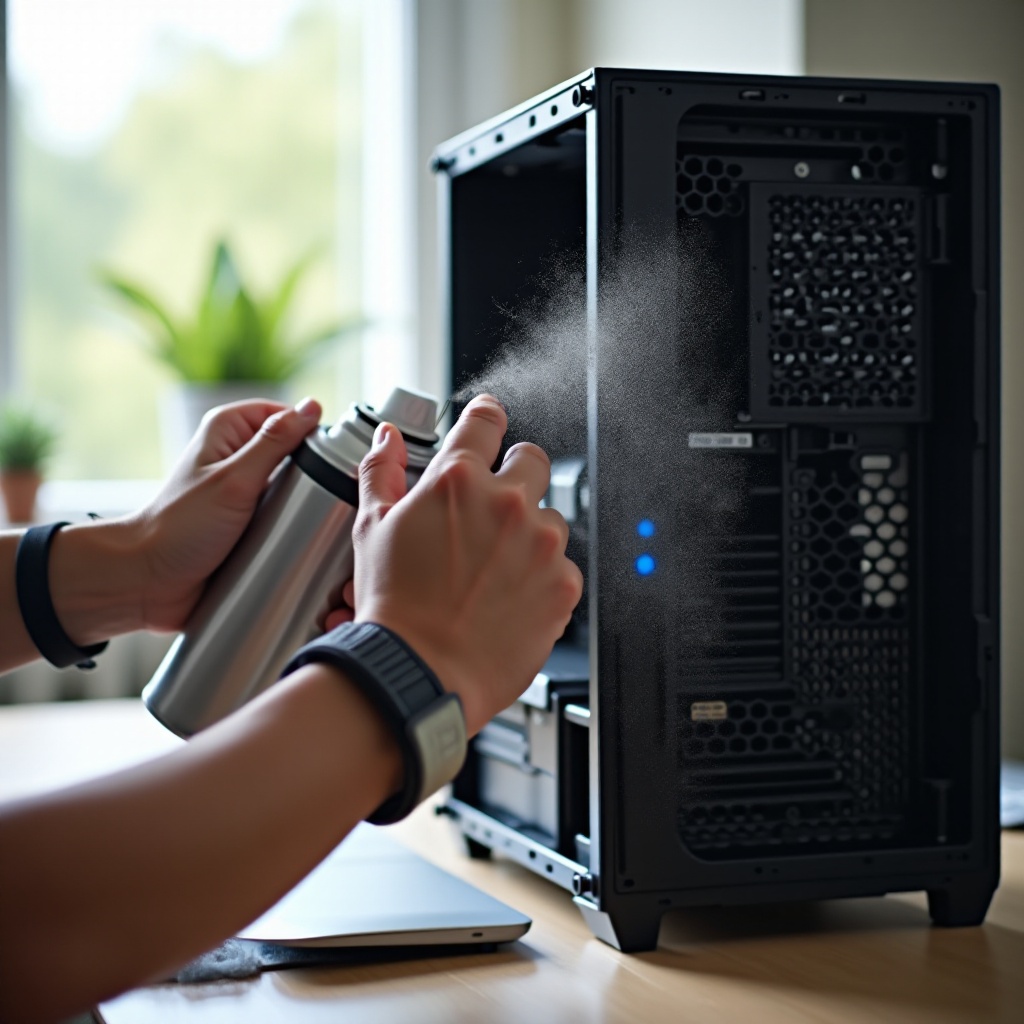
Start by shutting down the system. Unplug the power cable and all peripherals. Press and hold the power button for five seconds to discharge residual power. Move the PC to a sturdy table with good light. Touch a grounded metal part of the case to equalize charge. If you have an anti static wrist strap, clip it to bare metal on the chassis and wear it while you work. Avoid carpet, fleece clothing, and very dry rooms. A little humidity reduces static.
Read your case and laptop manuals. Some brands allow cleaning but restrict opening certain panels. Never open a power supply or a battery pack. Those parts can hold a dangerous charge. If a seal covers a screw, stop and check warranty terms. With safety handled, you can choose tools that clean fast without risk.
Tools You Need: Compressed Air vs. Electric Duster, Brushes, Masks, and Microfiber
Choose an air source that fits your budget and frequency of use.
- Compressed air cans: inexpensive and portable. Keep them upright. Short bursts only. Do not shake the can or spray while inverted.
- Electric duster: higher upfront cost, unlimited use, steady airflow, no freezing effect.
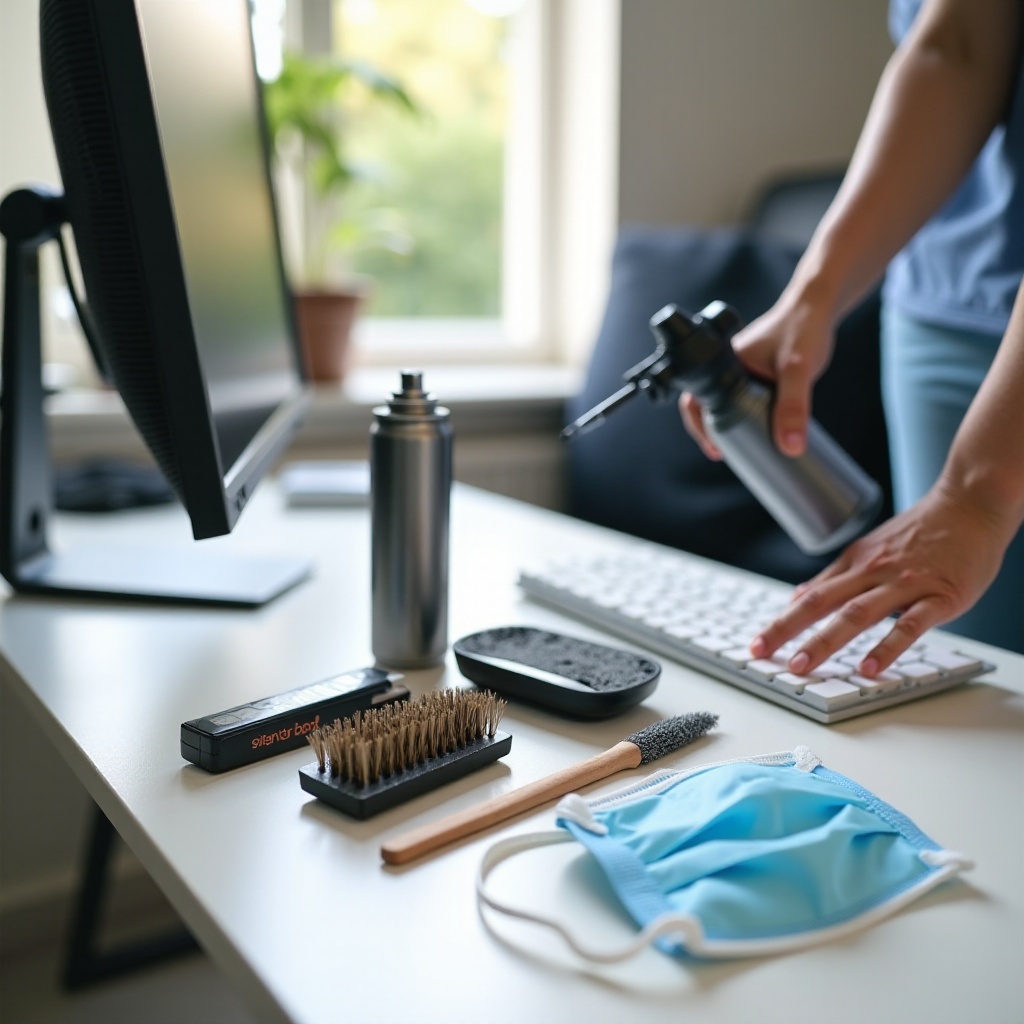
Add a soft anti static brush for caked dust. Keep a microfiber cloth for exterior panels and tempered glass. A dust mask helps if you are sensitive or if the PC is very dirty. A headlamp or desk lamp makes tight spaces easy to see. A parts tray holds screws. Use a phone to take reference photos before you remove panels or parts. Avoid regular household vacuums near components. A small ESD safe electronics vacuum is fine on removable filters and case panels only.
With tools ready, set up a clear workspace. A tidy bench keeps dust from resettling and makes reassembly quick.
Prepare Your Workspace and PC Case
Clear a table and lay down a clean mat or towel. Place the case where you can access all sides. Gather all tools within reach. Take photos of cable routing and fan orientation. Remove the side panels and any shrouds that come off without force. If the front or top panel has clips, release them gently to avoid breaking tabs. Put screws in a tray so nothing gets lost.
Identify airflow paths. Find intake fans and filters at the front, bottom, or side. Find exhaust fans at the rear or top. This map tells you which way to push dust so it exits the case instead of drifting onto the board. With the space set and the panels off, begin with the exterior so loose debris does not blow into the system while you work inside.
Step by Step: Dusting the Exterior Panels, Ports, and Vents
Work from the outside in. That keeps grime off your clean interior.
- Wipe steel, aluminum, and plastic panels with a dry microfiber cloth. For smudges, use a barely damp cloth and dry right away.
- Blow dust from front, top, and rear grilles with short bursts. Hold the nozzle a few inches away.
- Use a soft brush to lift lint from mesh and corners. Tap the brush to release dust between passes.
- Clear USB, audio, and network ports with brief air bursts. Do not insert tools into the ports.
- Clean the power cord inlet and the area around the rear exhaust.
Set the panels aside. Now the case can vent dust while you clean the interior and filters.
Step by Step: Cleaning the Interior Case and Dust Filters
Inside the case, aim dust toward the exits you just cleared. Work from top to bottom and inside to outside.
- Remove all dust filters from the front, bottom, and top. Rinse them with warm water and mild soap. Shake off water and let them dry fully.
- Use short air bursts to lift dust from the case floor, cable channels, and drive bays. Keep the nozzle a safe distance away from the board.
- Blow dust toward the front and rear openings so it leaves the chassis. Do not blast into closed corners.
- Brush stubborn debris off ledges, seams, and the PSU shroud. Blow again to clear it.
- Open the front cavity. Clean the space between the front fans and the front panel where dust cakes.
- Inspect front I O cables and headers. Blow off lint. Do not pull on connectors.
With the shell clear and filters drying, move to fans and heatsinks. These parts trap the most dust and drive temperature and noise if left dirty.
Fans and Heatsinks: How to Hold Blades and Clear Fins Without Damage
Fans can backfeed electricity and over spin when blasted with air. Hold each fan hub still before you blow air through the blades.
- Hold the hub gently with a plastic card, cotton swab, or a finger on the frame.
- Blow air through the fan from the clean side out. Use short bursts and keep a steady distance.
- Brush blade edges to loosen sticky dust, then blow again. Wipe gently with a dry microfiber if you can reach safely.
- Move to the CPU cooler. Blow through the fins from the fan side to the exhaust side. Do not poke fins with hard tools.
- If the fin stack is packed, use a soft brush between fins, then follow with air.
- Inspect cooler clips and fan wires. Reseat any loose plugs on the CPU fan header.
Do not remove the heatsink unless you plan to replace thermal paste. That is a separate job with its own steps. With the main cooler clean, turn to the graphics card and the mainboard.
GPU, Motherboard, and Expansion Cards: Safe Dusting Techniques
The GPU shroud and heatsink collect lint that blocks airflow. If access is tight, remove the card.
- With power still unplugged, remove the bracket screws. Press the PCIe latch and lift the card straight out by the bracket and the far edge.
- Hold each GPU fan still. Blow through the heatsink from inside to outside.
- Brush shroud edges, backplate gaps, and the I O bracket. Blow out dust between fins.
- Blow dust off the back of the PCB with gentle bursts. Do not scrape components or stickers.
- Clean the empty PCIe slot and nearby motherboard heatsinks with brief air bursts.
For the motherboard, pass air over VRM heatsinks, RAM slots, and chipset heatsinks. Keep the nozzle a few inches away to avoid forcing dust under slots. Reseat any loose dust caps on front panel headers or unused ports. Reinstall the GPU into the same slot and tighten the screws. Keep cables tidy to open clear airflow paths toward the exhaust fans.
Power Supply and Radiators or AIOs: What You Can Clean Without Opening
Never open a power supply. You can clean it from outside only.
- If it intakes from the bottom, remove and wash the bottom filter. Let it dry before reinstalling.
- If it intakes from the case, hold the PSU fan still and blow dust out through the rear grille.
- Wipe the PSU exterior with a dry microfiber. Do not push air deep into the unit.
For radiators and AIO coolers, focus on the fin stack and the fan faces.
- Hold radiator fans still. Blow from the clean side through the fins to the exhaust side.
- Use a soft brush to lift lint that sticks between fins. Avoid bending the delicate metal.
- Inspect tubes and fittings for moisture or residue. If you see signs of leakage, stop and service the cooler.
When these parts are clear, double check that every fan and pump header is seated. Then move on to laptops, which need a lighter touch.
Laptop Specific Dusting Tips: Ultrabooks and Gaming Laptops
Laptops benefit from regular exterior cleaning and careful interior service when needed.
- Power down and unplug. Remove external drives and dongles.
- Aim short air bursts through side and rear vents. Tilt the laptop so dust exits the vents.
- Clean the keyboard with air and a dry microfiber. Do not spray liquid into keys.
For deeper cleaning, consult the service guide.
- Many gaming laptops provide a bottom panel for fan and heatsink access. Remove screws and pry gently at the clips.
- Hold each fan still. Blow dust through the fin stacks from inside to outside.
- Brush lint from intakes, speaker grilles, and the hinge area.
- Do not pull on ribbon cables or Wi Fi antenna leads. Take photos before you lift any part.
If thermal performance is still poor after dusting, repasting may be needed. That is advanced and may affect warranty. Reassemble slowly and test thermals under load. With both desktops and laptops covered, it is time to power up and verify results.
Reassembly, Boot, and Temperature Checks: Verify Results and Fan Curves
Reinstall dry filters and panels. Route cables away from fans. Reconnect power and peripherals. Power on and listen. Fans should sound smoother and quieter. Open a hardware monitor and note idle temperatures for CPU and GPU. Run a short load such as a game or a stress test and watch peak temps.
Compare results to your notes before cleaning. If you did not take notes, record the numbers now to track future runs. Lower temperatures and reduced noise confirm a good clean. If fans ramp early, tune fan curves in BIOS or software for a quieter profile without sacrificing safety. With validation done, you can lock in preventive steps that keep dust under control longer.
Preventive Maintenance and Airflow Optimization: Filters, Pressure, and Placement
You can slow dust buildup with smart airflow and a simple schedule.
- Install intake filters on every intake fan and clean them often.
- Aim for slight positive pressure: a bit more intake than exhaust. That pulls air through filters instead of gaps.
- Seal obvious leaks such as empty PCI slots or open grommets with covers.
- Lift the case off carpet. Leave a few inches of space around front, bottom, and top intakes.
- Tidy cables so they do not block the path from intake to cooler to exhaust.
- In dusty rooms, use a small air purifier near the PC and keep floors clean.
- Set a cadence: quick exterior touch up monthly, interior every three to six months. Shorten the interval if you have pets or smoke.
These habits reduce dust intake and make each future cleaning faster. Even with care, mistakes can undo good work. Avoid the following pitfalls.
Common Mistakes to Avoid: Spinning Fans, Moisture, and Household Vacuums
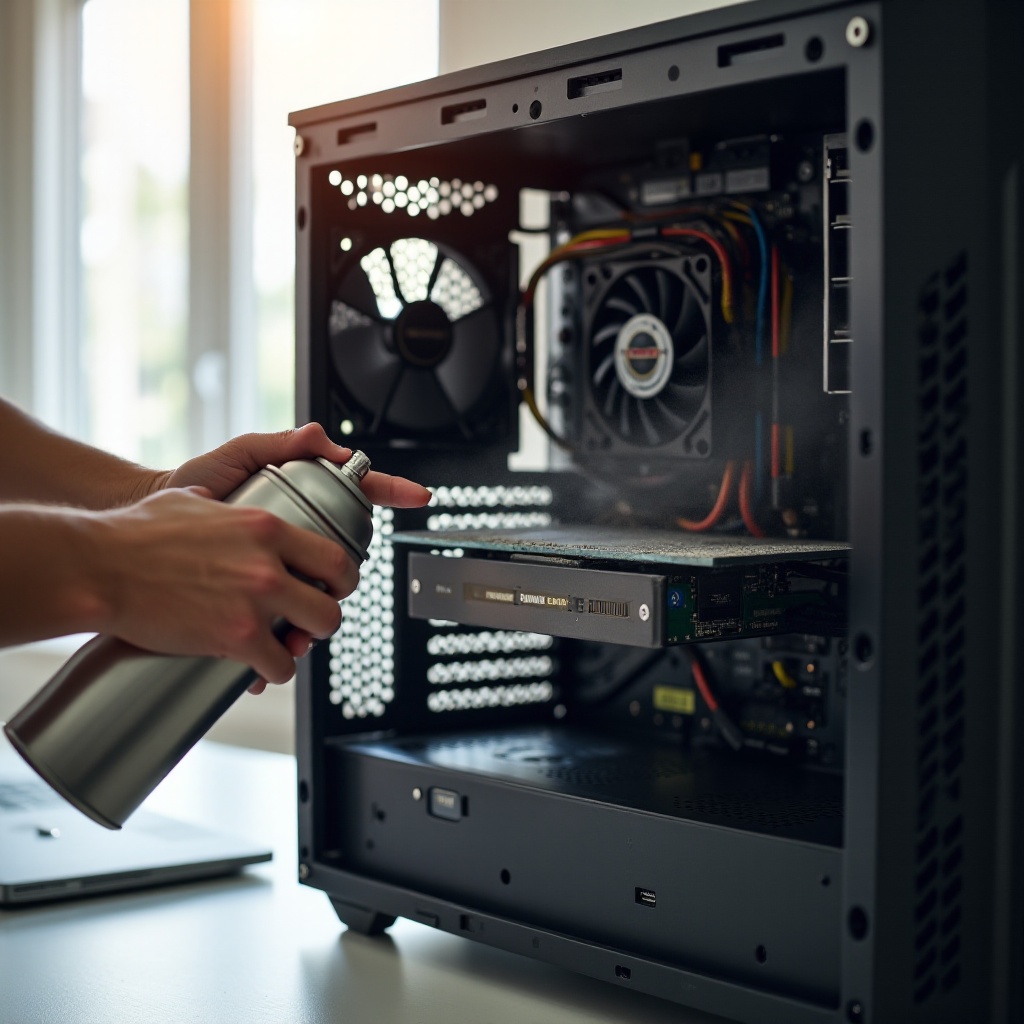
Do not let fans free spin from air blasts. Hold the hub every time. Do not spray liquids into the case. Avoid glass cleaner and wet wipes on components. Keep compressed air cans upright. Do not chill the board with propellant. Avoid household vacuums inside the case because of static and strong suction.
Do not open the PSU. Do not force brushes into slots or connectors. Do not bend radiator fins with hard tools. Do not reverse fan direction during reassembly. Use the arrows on the fan frame to confirm airflow and blade rotation. If you make a mistake, stop, reassess, and correct. If issues remain, troubleshoot step by step.
Troubleshooting After a Clean: Fan Errors, Rattles, and Thermal Issues
If the system shows a CPU fan or pump error, check the header first. Ensure the CPU fan plugs into the CPU fan header and any pump into the pump header. If a new rattle appears, a cable may touch a fan blade; reroute and secure with ties. If temperatures are higher than before, one or more fans may be reversed. Check airflow arrows and reposition if needed.
If the PC fails to boot, reseat RAM and the GPU. Verify that 24 pin and CPU power cables are locked. Make sure filters are fully dry and not choking intakes. If performance still seems off, update fan curves, clean filters again, and retest. When everything looks good, close the case and enjoy a cooler, quieter machine.
Conclusion
A careful dusting routine restores airflow, drops temperatures, and cuts noise. With safe power down steps, anti static awareness, and the right tools, you can clean any system without risk. Work from the outside in. Hold fans still. Blow dust toward the exits. Detail the GPU, PSU exterior, and radiators without opening sealed parts. Reassemble with tidy cables and verify with simple temperature checks. Keep filters clean, maintain slight positive pressure, and set a regular schedule. You will spend less time cleaning, your PC will run cooler, and your components will last longer.
Frequently Asked Questions
How often should I dust my computer?
Do a quick exterior wipe and air burst each month. Clean the interior every three to six months. Shorten the interval if you have pets, smoke, carpeted floors, or a dusty workshop. Watch for signs that say clean now: louder fans, rising idle temps, and thermal throttling under light loads.
Is compressed air or an electric duster better?
Both work. Compressed air is cheap and handy for small jobs. Keep the can upright and use short bursts. An electric duster costs more up front but gives steady airflow, never freezes, and pays off if you clean multiple systems across the year. Many people use both: a can for quick touches and a duster for deep cleans.
Can I use a vacuum or leaf blower to dust my computer?
Avoid household vacuums inside the case. They can build static and have strong suction that risks damage. An ESD safe electronics vacuum is fine on removable filters and panels. Leaf blowers move a lot of air but can push debris and moisture and spin fans too fast. If you must, hold fans still and keep your distance, but safer tools are compressed air or an electric duster.